How to Set Up a Home Olive Cure in Autumn
A raw olive straight off the tree is so bitter it is almost impossible to swallow — the whole craft of the olive is about removing that bitterness. Curing your own at home in autumn is slow but genuinely simple, and brine-curing is the method most worth learning first.
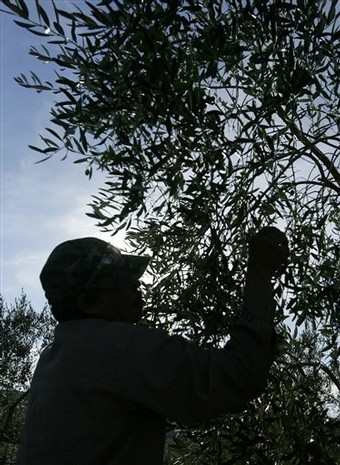
Fresh olives are loaded with a bitter compound, oleuropein, that makes them inedible raw. Every traditional cure is simply a way of drawing that out — and autumn, when the fruit comes ripe, is when to begin. Skip the fast, caustic lye method for a first attempt; brining is slower, far more forgiving, and rewards patience with better texture and flavour.
Why curing is necessary
Every route to an edible olive leaches oleuropein: soaking in plain water, packing in dry salt, fermenting in brine, or — the fastest and harshest — treating with lye. For a first home cure, skip the lye. It works quickly but uses caustic soda and leaves no room for error. Brining and water-curing are slower, far more forgiving, and give better results. As a rule, green olives take longer and stay firmer; riper black olives cure faster and end up softer. Either way, the watchword is time.
A simple brine method
Sort and wash your olives, discarding any bruised or damaged, and slit or crack each one so the brine can reach the flesh. Cover them with plain water and change it daily for several days to wash out the first harsh bitterness. Then move them into a salt brine — a common starting strength is roughly enough salt that a raw egg floats, which works out around a tenth salt to water. Keep the olives fully submerged under a weight so none are exposed to air. Store somewhere cool and dark, top up or refresh the brine as needed, and simply wait, tasting every week or two.
| Step | What you do | Why |
|---|---|---|
| Sort & wash | Discard bruised fruit, rinse | Damaged olives spoil the batch |
| Crack or slit | Break the skin of each | Lets bitterness leach out |
| Water soak | Cover, change water daily, several days | Washes out the harshest bite |
| Salt brine | ≈10% (a raw egg floats) | Cures and preserves |
| Submerge & wait | Weight down, taste every 1–2 weeks | Air exposure moulds; time does the work |
Keeping it safe and good
Two rules keep a home cure both safe and delicious. First, keep every olive under the brine — any left exposed to air can spoil or mould, which is why a weight or a clean plate on top matters. Second, always taste before you trust a batch: curing is forgiving on timing but unforgiving on shortcuts. Once the olives are pleasantly bitter rather than mouth-puckering, drain them, repack in fresh light brine, and dress with oil, herbs and lemon to your taste.
A first-cure checklist
- Crack or slit every olive — unbroken fruit cures painfully slowly.
- Change the plain-water soak daily for the first few days.
- Aim for a brine where a raw egg just floats — roughly a tenth salt.
- Keep everything submerged and weighted, cool and dark.
- Taste every week or two and only trust the batch when it tastes right.
Home olive-curing: common questions
When should I start a home olive cure?
In autumn, when the fruit ripens and comes off the tree. Green olives can be picked earlier and cure firmer; riper black olives come later and cure softer.
Do I have to crack or slit the olives?
It helps a great deal. Breaking the skin lets the bitter oleuropein leach out much faster; whole, unbroken olives can take far longer to cure.
How much salt goes in the brine?
A common starting point is enough salt that a raw egg floats — roughly a tenth salt to water. That strength both cures and preserves the olives.
Why must the olives stay under the brine?
Any olive exposed to air can spoil or grow mould. A weight or a clean plate keeps them all submerged and safe while they cure.
How long until they are ready?
Anywhere from several weeks to a few months, depending on the olive and its ripeness. Taste every week or two and stop when they are pleasantly, not fiercely, bitter.
Two rules keep a home cure safe and good: keep every olive under the brine, because any exposed to air can spoil or mould, and always taste before you trust a batch. Curing is forgiving on timing but unforgiving on shortcuts. Once they are pleasantly bitter rather than mouth-puckering, drain, repack in fresh light brine, and dress with oil, herbs and lemon to your taste.
Based on traditional home olive-curing practice; brine strength from home-pickling guidance. Follow safe food-handling guidance.